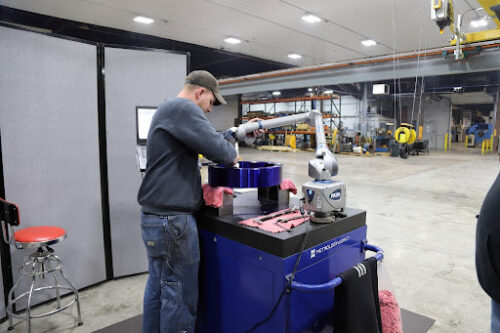
GVM’s inspection processes are 100% governed by our ISO 9001:2015 tenets. Each GVM order receives an inspection plan which is closely followed based on the unique requirements of each part configuration. GVM employs a vast array of inspection tooling and probing. Below is a brief overview of our inspection capabilities.
- API OT2 Core – Laser Tracker
- 1.5m Faro Gage Arm
- 9ft Faro Edge Arm w/ LLP Scanner
- 12ft Faro Edge Arm
- 10ft Faro Platinum Arm
- (2) AIMS CMMs – HB 8.10.6 (800mm x 1000mm x 600mm) with PH20 5 axis heads
- Wenzel CMM – (3meter x 2meter x 6meter) w/ Revo2 5 Axis Head
- Borescopic Inspection Unit (We can provide a video for documentation)
- Sonic Thickness Gages
- Various Hardness Testers
- Standard Micrometers & Gages
If it looks like it doesn’t fit, call to speak with one of our technical experts.
Facility Capabilities at a Glance
| Small Shaft Buildings 51 & 52 | Medium Shaft Plant | |
|---|---|---|
| Outside Diameter | 2.00″ – 24.00″ OD | 4″.00 – 48.00″ OD |
| Inside Diameter | 1.180″ – 6.00″ ID | 2.25″ – 40.00″ ID |
| Length | 25′ (300″ ) | 50′ (600″) |
| Weight | 10 Ton Crane | 20 Ton Crane |
| Large Shaft Buildings 82 & 87 | Large Milling Plant | |
|---|---|---|
| Outside Diameter | 4.00″ – 98.00″ OD | 2.00″ – 20′ (240″) Width |
| Inside Diameter | 2.00″ – 60.00″ ID | up to 7′ (84″) Height |
| Length | 70′ (840″) | up to 20′ (240″) Length |
| Weight | 130 Ton Crane | 20 Ton Crane |

